Standee and Deliver
September 2026 · 18 min read
Contents
As the only kid in my house growing up, I considered households with four gaming controllers as the height of opulence. To have not only the means, but the personnel, to support a gaming experience with yourself and three other humans? The extravagance!
You can imagine my delight, then, when our youngest started muddling his way through some of his first gaming experiences. Around the same time, Nintendo released Super Mario Wonder. The game promised a chaotic yet relatively tame couch co-op experience. I knew, then, that it had to be mine.
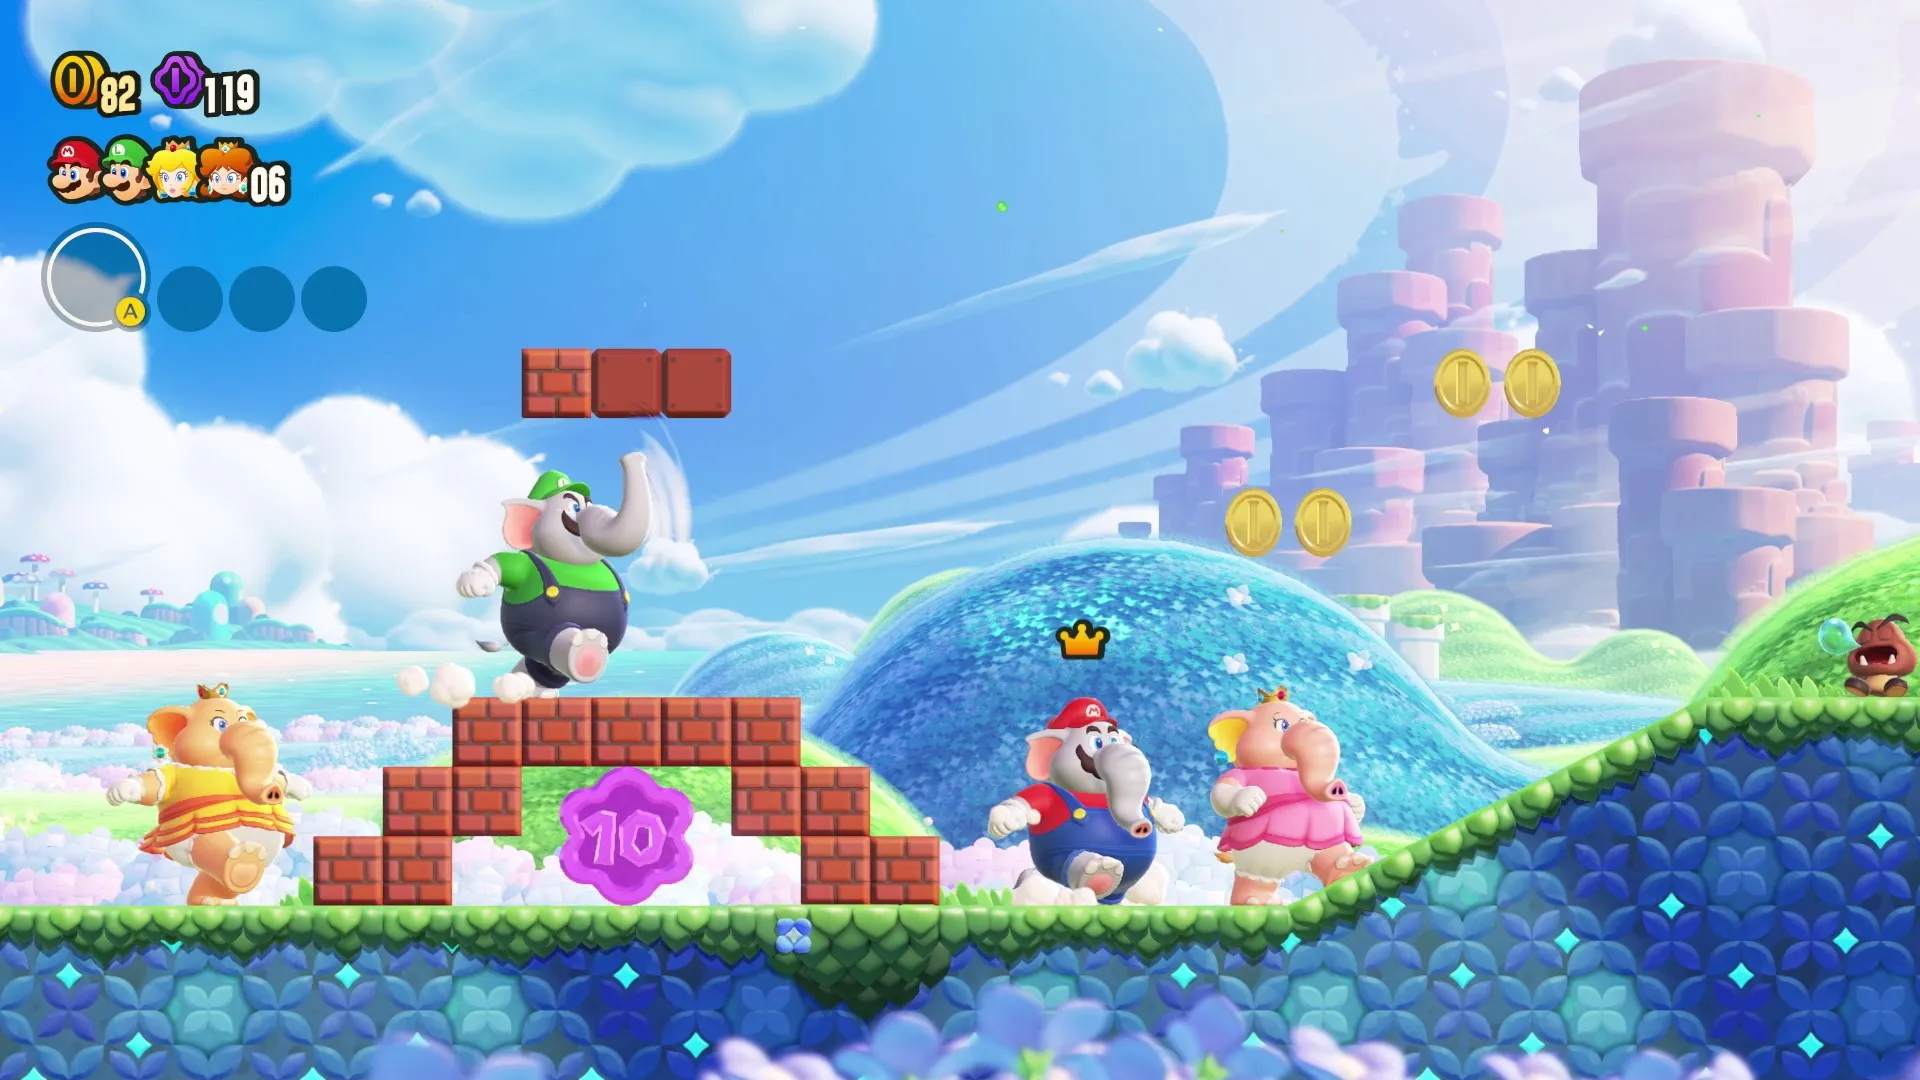 Family game night cosplaying as a herd of elephants in Super Mario Wonder. (Source: Nintendo)
This game was the first one my wife, our kids, and I would sit down and play together, without the competitive backstabbing that comes with games like Mario Kart. Having three other players, and needing three other controllers, convinced me that in spite of everything else going on in the world, I was truly living my rich life.
As the weeks went on, we gradually churned our way through the game together. We defeated Bowser (given 40 years of the same conflict, I don't think that's a spoiler), found and completed all of the hidden levels, and unlocked all of the game's special-power-endowing badges. However, as a completionist, I'm somewhat ashamed to admit one thing. There's one set of things we failed to collect in full.
Standees.
Standee By Me
What's a standee, you ask? This is a very good question. Even when we were playing the game, I did not really know. I think it's because they're mostly used in online play, but we only played together on the couch.
Super Mario Wonder has a mechanic whereby when you are playing with others, a hit that normally would kill you does not. Instead, you turn into a cute little ghost and have a few seconds to tag a living player to be resurrected without losing a life. Standees are little cutouts of the characters that you can place in levels during online play, and can also revive your ghost form if you touch them before you are claimed by the grim reaper.
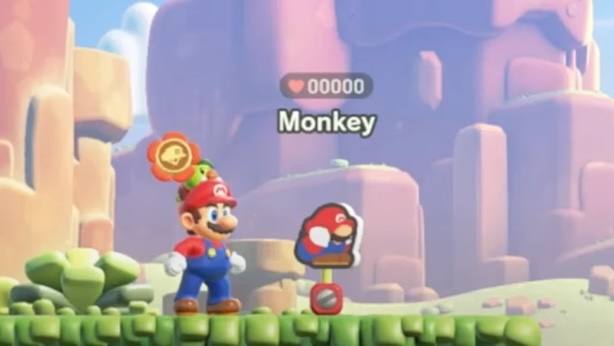 An example of a standee; Mario has placed this one next to him. (Source: Nintendo)
The game has many standees to collect. You acquire them by purchasing them from shops using purple coins you find in levels. Each standee costs 10 coins, but here's the rub: at that price, standees are like a box of chocolates. You never know what you're going to get.
Consider Mario. As with every other playable character, he has 12 standees. You get one standee just for starting the game, leaving you with 11 standees to collect.
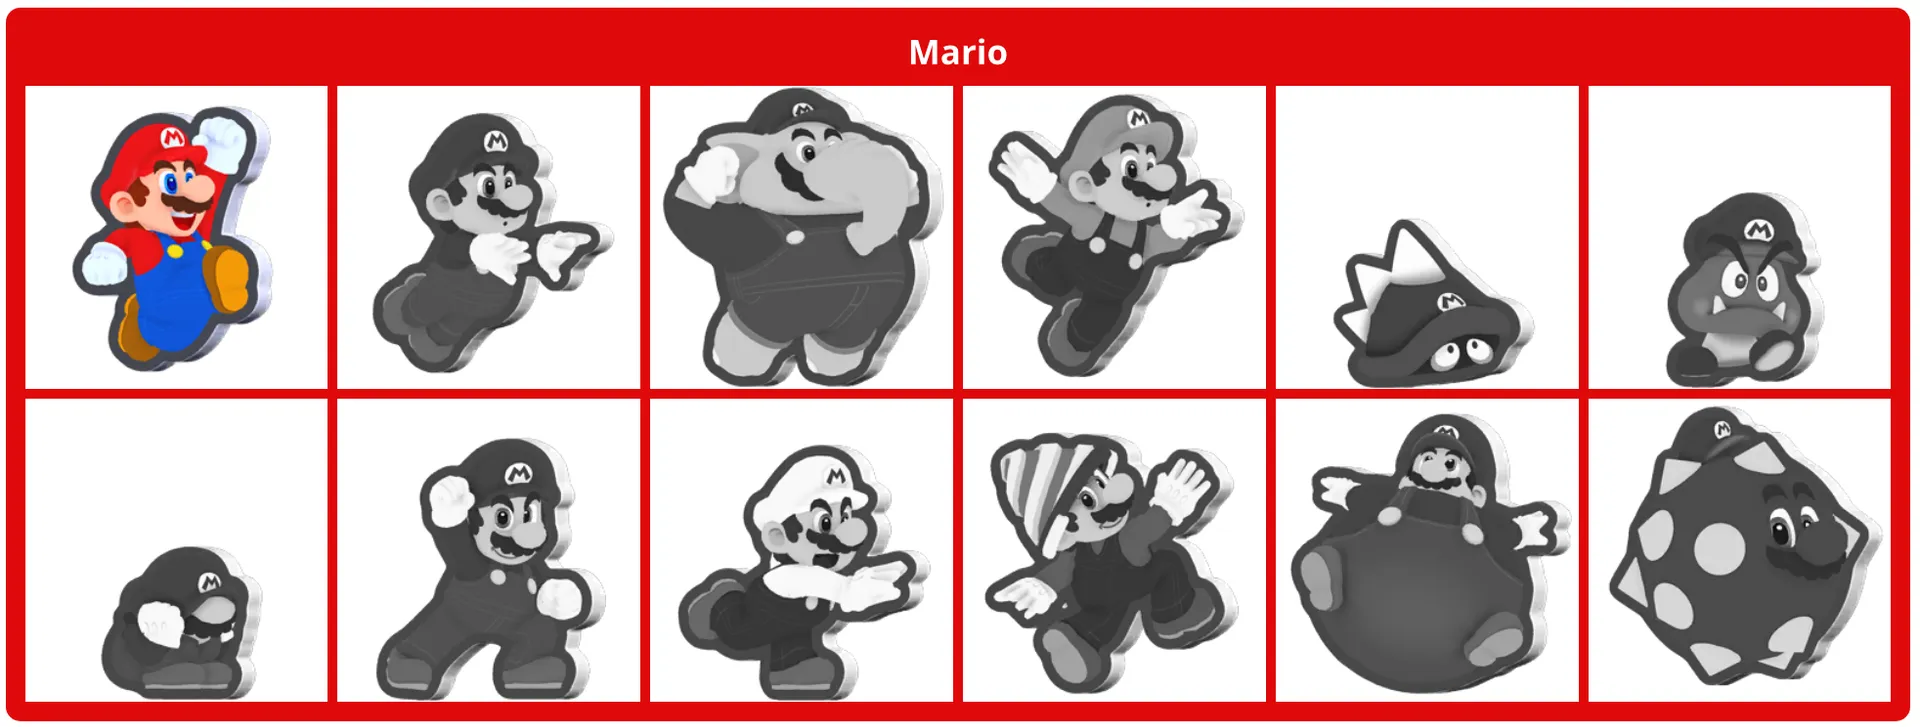 All of the Mario standees; the game gives you the first one for free.
The standee you start with is not a part of the drawing pool, so when you pay for your first standee, it's guaranteed to be new. If you buy a second standee, there are 10 standees that you still need to collect, and 11 standees total, so the likelihood of getting a new standee is no longer guaranteed; it's 10 / 11, or around 91%. Similarly, if you have two standees and purchase one, the likelihood that it will be new is 9 / 11, since there are 11 Mario standees to draw from, and 11 - 2 = 9 of them are ones you don't already have.
Given the possibility of duplicates, it's natural to ask how many times we expect to have to draw in order to complete the set. To think this through, it's helpful to work our way backwards. Let's say we have 10 of the 11 standees already collected. In this case, the probability that any random purchase will give us our missing standee is 1 / 11. Flipping this proportion gives us the expected value: since we have a one in eleven chance of getting that last standee, on average we expect to need to make 11 purchases to complete our collection.
What if we have 9 of the 11 standees? The same argument applies. The probability that a random purchase will give us one of our two missing standees is 2 / 11. This means that on average, we expect to need 11 / 2, or 5 and a half purchases, before getting something new.
The story repeats itself no matter how many standees we're looking for. We find the probability of getting a new standee given how many we already have, and then invert that probability to give us the expected value. Since the only way to get all the standees is to get one new one, then a second new one, then a third one, and so on, we can calculate the expected number of purchases we need to make by adding up all of these expected values. In this case, we get:
So in order to get 12 Mario standees, you should expect to need to make just over 33 purchases. Another way to spin this: you should expect 22 out of your 33 purchases to be redundant purchases of standees you already have.
Standees in Harmony
Unfortunately for the completionists among us, Mario is not the only character with a set of 12 standees. The main game has 12 characters, and each one comes with their own set. While the game gives you one standee per character to start, this still means that there are 132 to collect.
As you might imagine, the more there are to collect, the more redundant standees you'll need to buy. But how bad does it get? You can use the simulator below to adjust the number of characters and see how many purchases you can expect to make, on average.
Draws: 0 — Found 1 / 12

 0
0 0
0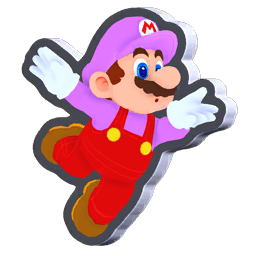 0
0 0
0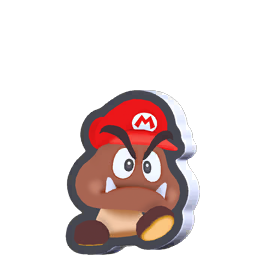 0
0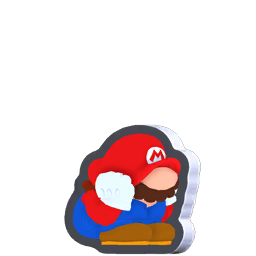 0
0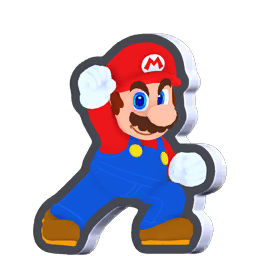 0
0 0
0 0
0 0
0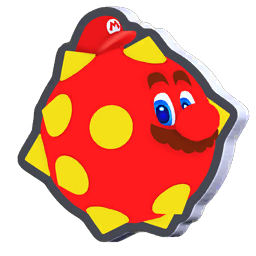 0
0Even without the simulation, we can apply the same logic as above to figure out the expected value. In fact, we can do this for any number of standees N. Just like before, we expect to get our first new standee after N / N = 1 draw, our second standee after N / (N - 1) draws, and so on, until there's only one standee left. At that point, each purchase gives us a 1 / N chance of completing the set, so we expect to need N purchases at the end to make that happen.
Or, if we want to put on our monocles and get fancy with it, the total number of expected draws is equal to:
where is the sum of the reciprocals of the first N whole numbers. This is known as the N-th harmonic number.
Because these harmonic numbers grow without bound, the more standees you need to buy, the more money you'll waste on standees you already have. We already saw that for 11 standees, is around 33, so you can expect about two-thirds of your purchases to be wasteful. But with 12 characters, the number of standees we need to buy is 132. At this count, is over 721. This means that to collect the 132 standees in the game, you should expect to buy around 589 standees you don't need. In this case, nearly 82% of your purchases will be wasteful!
As an aside, note that earlier this year a Nintendo Switch 2 edition of the game was released, which included an additional set of standees for Princess Rosalina. So if you're a completionist and play this version of the game, you'll need to collect 143 standees. You should expect this to require the purchase of , or nearly 793 standees. Once again, this means that you can expect 650 (or around 82%) of your purchases to be redundant.
That's so Random
What we've just explored here is a classical mathematics problem. It goes by the name of the coupon collector's problem, though in modern parlance we may as well call it the standee collector's problem, since I imagine the youth may be more familiar with collecting standees than collecting coupons. But aside from the specific object we are trying to collect, the premise and the conclusion are the same: if you're trying to collect a set of N objects by drawing from a population where each object is equally likely, you should expect to need draws to get the job done.
This is bad news for collectors who have an almost complete collection when N is large. It means that the more objects you have in your collection, the harder it is to get new ones. And from a game design standpoint it's problematic, too. For someone who has collected every standee except one, the thought of having to earn over a thousand coins in order to chase that last standee is pretty far from most folks' definition of fun.
Fortunately, the game has an escape hatch for you, if you're skilled enough to find it. Late in the game, there's one shop that sells standees you are guaranteed not to have yet. The store charges an additional cost for these guaranteed standees: 30 coins instead of 10. Still, when you're close to having a complete set, this price is a bargain.
The table below lets you explore just how much of a bargain. You can vary the number of standees in the collection, the cost of a random purchase, and the multiplier factor for a standee that's guaranteed to be new. Even if the game priced these guaranteed standees at 40 or 50 coins, on average it would still be cheaper to find this shop than it would be to try your luck with random standees.
| Strategy | Expected Number of Standees | Expected Total Coin Cost |
|---|---|---|
| Random | 721.2 | 7,212 |
| Guaranteed | 132 | 3,960 |
Strategy Mixologist
Of course, buying standees isn't an all-or-nothing proposition. You don't have to choose what type of standee to purchase and then stick with that approach for the entire game. And intuitively it seems like we should purchase random standees earlier on, because they're cheaper and we are less likely to receive a duplicate standee. Conversely, in the late game, purchasing a guaranteed standee can save us thousands of coins.
In our own family playthrough, we didn't spend much on standees during our initial run. So when we got to the end of the game, we had a choice about how to make our coins stretch for as many standees as possible. Go for the cheaper random ones, or the boutique guaranteed ones? It seemed clear that there must be some point at which we should switch from the former to the latter. But where is that switching point?
There is an optimal solution, but before the big reveal, here's an opportunity to explore that point for yourself. As you might expect, switching over to paying slightly more for a guaranteed standee can do wonders for completing your collection more quickly.
Draws: 0 — Total Cost: 0 coins
000000000000For a broader perspective, here's a chart of the expected cost based on where you switch between a random and a guaranteed purchase strategy. Note that as long as the guaranteed cost is greater than the random cost, there is some unique point at which it makes sense to switch from random to guaranteed.
We can also solve for this minimum value algebraically. Full disclosure, this is the point where my own kids lost interest.
Let's suppose you currently have K standees in your collection, and are deciding whether to purchase a random standee or a guaranteed standee. The key insight is that if you want the cheaper option, you need to compare how much you'll expect to spend with each strategy.
For a guaranteed standee, it's clear: you'll spend whatever the shop is charging. Let's call this cost .
For a random standee, as we've seen before, if you have K standees out of N total, you should expect to have to make purchases. If the random standee cost is , then the expected cost of this strategy is .
Note that this expression is strictly increasing with K. In other words, the more of the collection you have, the more expensive the random strategy becomes. On the other hand, the guaranteed strategy has a fixed cost, independent of the size of your collection. Therefore, you should make the switch as soon as the random strategy cost exceeds the guaranteed strategy cost. Mathematically, this means the switching point is the smallest value of K for which
Solving this inequality in terms of K gives us:
In particular, if guaranteed standees are three times the cost of random standees, this means we should switch as soon as we have more than two-thirds of the total collection.
Note that this switching point, as a fraction of the total number of standees, only depends on how much more expensive a guaranteed standee is compared to a random one. You can see that in the graph as well; the higher the multiplier, the longer you should stay with the random strategy.
A Final Wrinkle
Unfortunately, there's a problem with our analysis: it assumes that every standee is equally likely. Based on internet chatter and my own experimentation, this does not appear to be the case.
Instead, each standee belongs to one of three tiers: black, silver, and gold. There are four standees in each tier for each character. Since we start with the jumping standee for each character, and this is a black-tier standee, this means completing our collection requires finding three black standees, as well as four silver and four gold ones for each character.
I started a fresh game and purchased 200 random standees to see how frequently I landed one in each tier. Here are my results:
| Tier | Draws | Percentage |
|---|---|---|
| Black | 93 | 46.5% |
| Silver | 90 | 45.0% |
| Gold | 17 | 8.5% |
| Total | 200 | 100% |
While I can't rule out the possibility that black and silver standees are equally likely, it is quite clear to me that gold ones are much more rare.
This literally changes the equation. For our last exploration, below you can adjust the relative likelihood of drawing from each standee tier. The closer you are to one of the vertices, the more likely that tier is to be drawn. There are two points of interest: at the bottom, the denotes the probabilities based on my experimental data. Near the center, the + denotes the probabilities based on each standee being equally likely. Note that each standee being equally likely means the black tier is less likely to appear than the other tiers, because this tier has fewer standees in it.
As you adjust things, you'll see that when the tiers aren't equally likely, it pulls forward the point where we should switch to a guaranteed strategy.
To get very explicit on the comparison, if we assume all standees are equally likely, then you should switch to paying the premium for a guaranteed standee when you have 88 standees in your collection (96 standees if you have the DLC). But if we use my experimental data as the source of truth, the graph suggests you should switch strategies at 68 standees for the base game, and 74 standees for the DLC. That's at least 20 standees earlier!
And you can get even more sophisticated with your estimates if your input is not just the total count of how many standees you have, but the subtotals per tier. Again, let's assume the experimental data is correct. If we let denote our count of black standees, denote our count for silver, and denote our count for gold, then our inequality for when we should switch becomes
for the base game, and
for the DLC.
Notice that these inequalities weigh the most common standees more heavily than the rarer ones. This makes intuitive sense: if you have a bunch of the common items, searching randomly for items that are not going to come up as frequently is more likely to be wasteful. In particular, these inequalities tell us that it might make sense to switch when you have as few as 58 standees, if you collect all 36 black ones and an additional 22 silver ones.
(If you're curious where these inequalities come from, I've got you. You can see details in the appendix.)
Conclusion
Mario may be only a humble plumber, but he's also got a nose for interesting math. Just the simple act of collecting brings with it all kinds of emergent math about probability and optimization. There are many other generalizations of the coupon collector's problem for you to explore, if you're curious. These types of problems are closely tied to the birthday problem, for example, and there are applications in graph theory and biology as well.
I gave a talk at my kids' school about this problem a couple years back, and it was a lot of fun. I must admit, though, that when I tried to continue the mathematical deep dive at home, they just wanted to play another level.
Appendix: A General Switching Inequality
Curious about how we generalize the switching point inequality in the general case where the number of tiers, and their associated probabilities, might be variable? Then sit down and let me spin you a yarn.
Let's suppose there are M tiers of items you're trying to collect. For any tier i, suppose there are items to collect, and that you have already collected of them. Moreover, we assume that items within each tier are all equally likely, but that the probability of drawing from a given tier is . That's just another way of saying that some tiers may be more rare than others, but no items within a given tier are more likely to appear than other items within that same tier.
In the case of one tier, we said that the probability of randomly getting a new item was . In this more complex setup, the probability (let's call it q) is:
The reason is that we have a probability of being in the ith tier, and once we're in that tier, a probability of getting a new item within that tier. So the total probability is just the sum of the probabilities across each of these i tiers.
Just like before, the expected value is just one divided by the probability. So the expected number of purchases we'll need to make is 1 / q.
Also, just like before, we should switch when the random cost, multiplied by this expected value, is greater than or equal to the guaranteed cost. In other words, the switching point is determined by the inequality:
Rearranging terms gives us
One final thing to note about q is that if we divide through by the denominator, we get
since the probabilities must all sum up to 1.
Putting this all together, it means we should switch from a random to a guaranteed strategy when
Some notes on this:
-
When M = 1, that is, there's only one tier, then , and this becomes the inequality we first encountered.
-
In the actual game, the left-hand side resolves to 2/3, and the resolve to either 36 or 39 for black, and 48 or 52 for silver and gold (depending on whether you consider the DLC or not). If we plug in 0.465 for the black tier probability, 0.45 for the silver tier, and 0.085 for the gold tier, then this inequality simplifies to exactly the ones written at the end of A Final Wrinkle.
Sources:
Never miss a story. No AI slop. Just sweet, sweet math.
Here are some other stories you may like:
Coin Operator
July 2026 - 14 minute read
Investigating the presence of an infinite money machine in a popular puzzle game.

Harvesting Wins
May 2018 - 13 minute read
Modeling the likelihood of board-game victory.

Bettor Up
August 2026 - 17 minute read
When medical trials get turbo charged with even more capitalism, what could possibly go wrong?